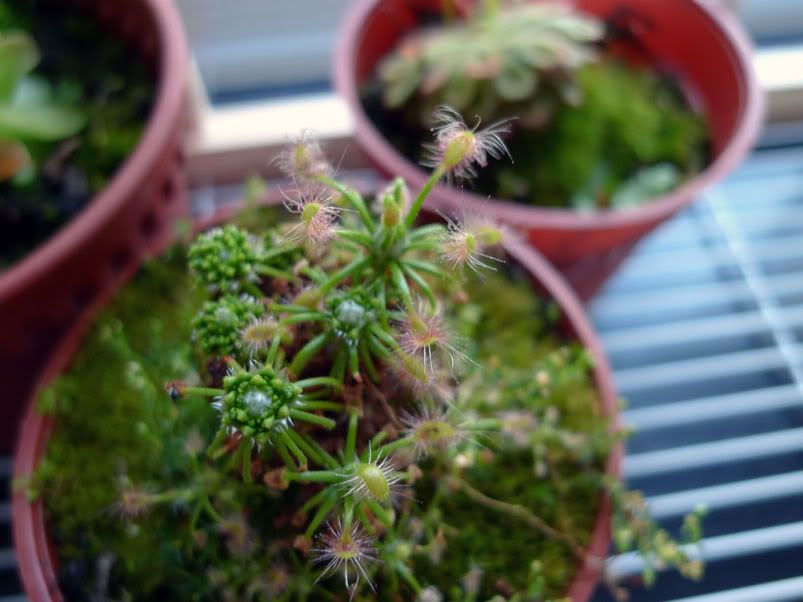
 A Drosera spp.
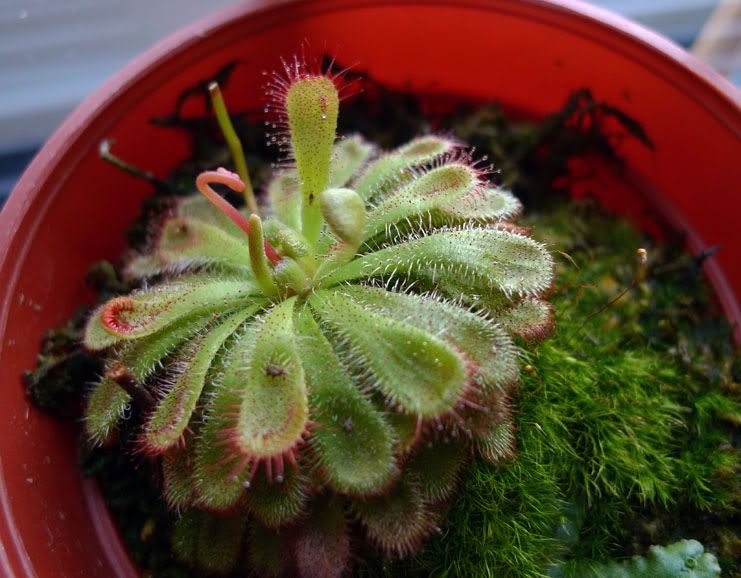 Another Drosera spp.
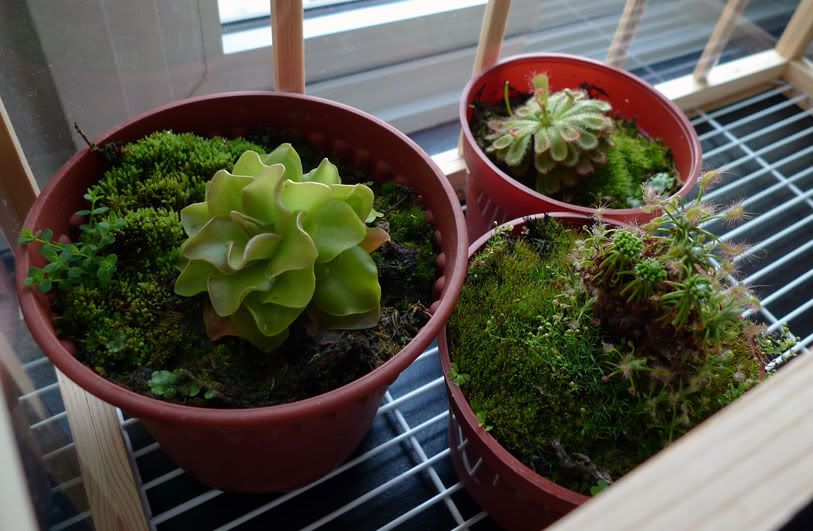
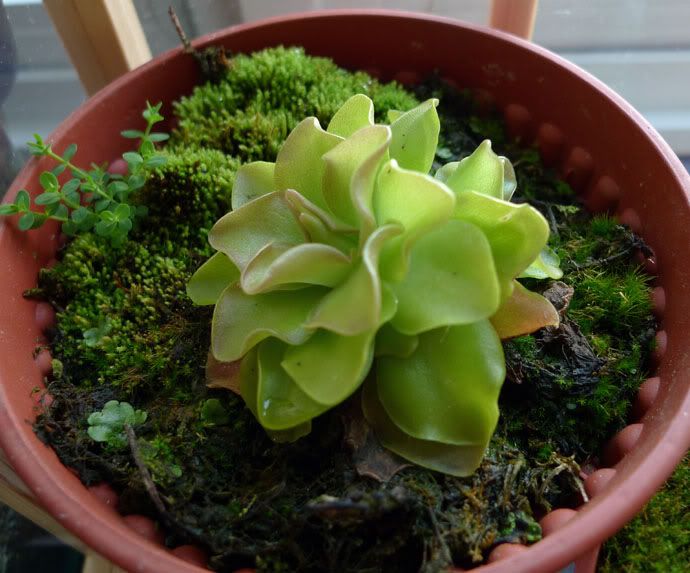 A pinguicula spp.
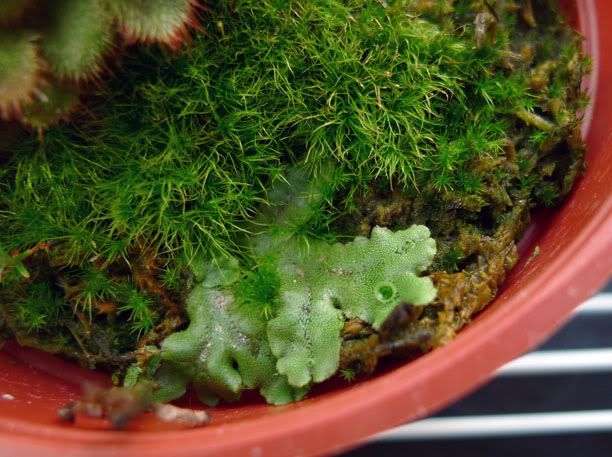 not too sure what is this weed/algae/moss?
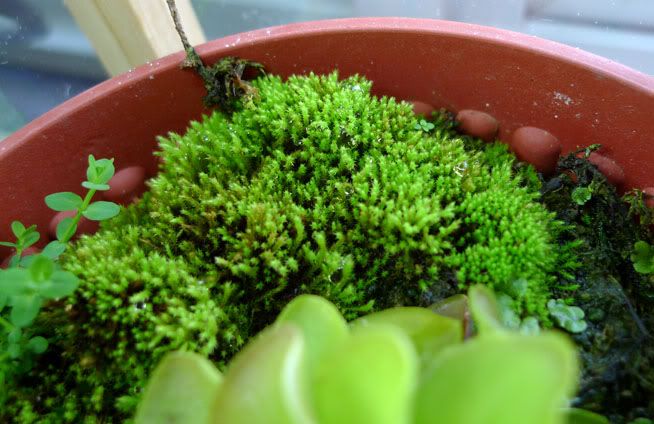 Interesting moss. thinking of using this to cover parts of the paludarium.
A Drosera spp.Another Drosera spp.A pinguicula spp.not too sure what is this weed/algae/moss?Interesting moss. thinking of using this to cover parts of the paludarium.
Interesting moss. thinking of using this to cover parts of the paludarium.
A Drosera spp.Another Drosera spp.A pinguicula spp.not too sure what is this weed/algae/moss?Interesting moss. thinking of using this to cover parts of the paludarium.
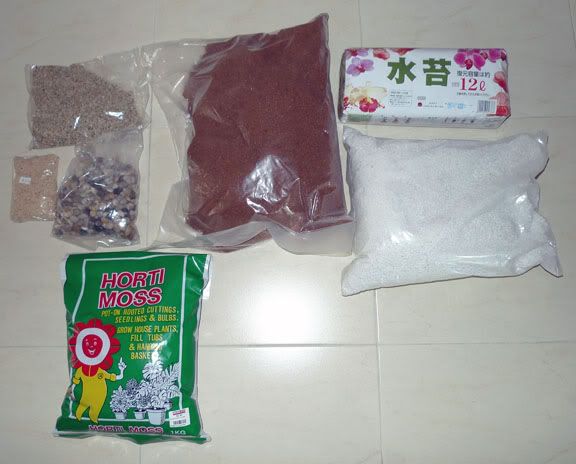
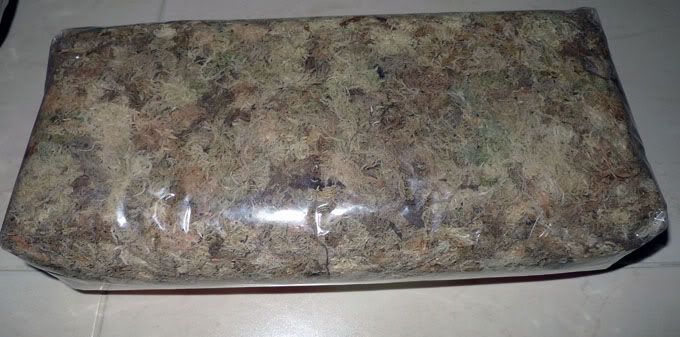 Got the dried spagnum moss from World Farm.
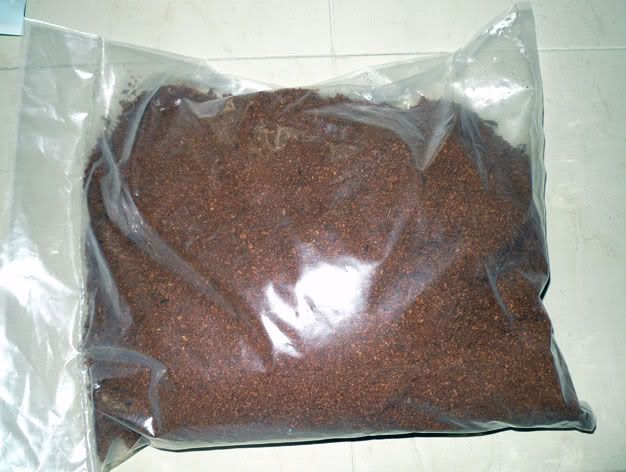 This looks like coco-fibre to me but World Farm labeled it as coco-peat. Oh well... so long as the texture is the same. I intends to stick this as a layer via silicone over part of the background I am creating.
 Perlite which I bought sometime back from World Farm as well but did not get to use it till now. Going to add a little to the substrate to help improve drainage.
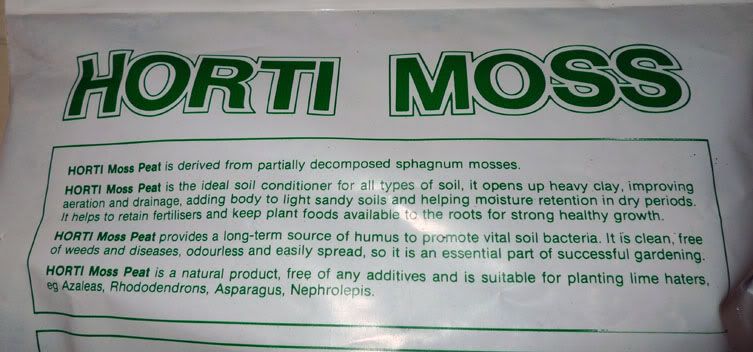 This Horti Moss is peat moss according to the package description. Not too sure how I am going to use this but probably going to add alittle to to spagnum moss with the perlite.
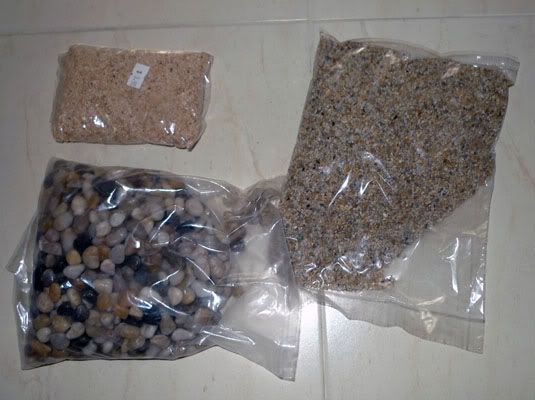 Various grades of inert sand and pebbles for the underwater portion.
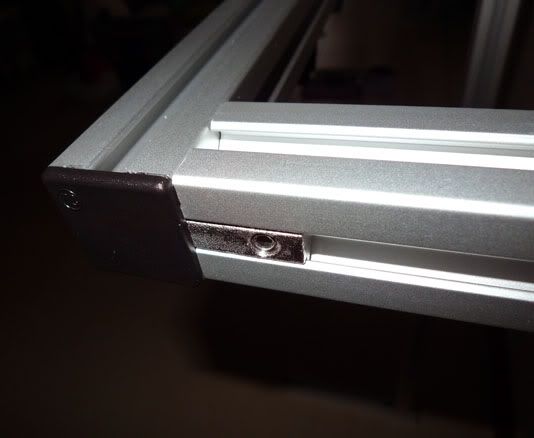 I was pleasantly surprised to discover a new kind of internal bracket joint which allow even more flexibility in the structural design. Now I have the option to have 2 L-bracket at the corners to strengthen such joints for heavier load bearing.
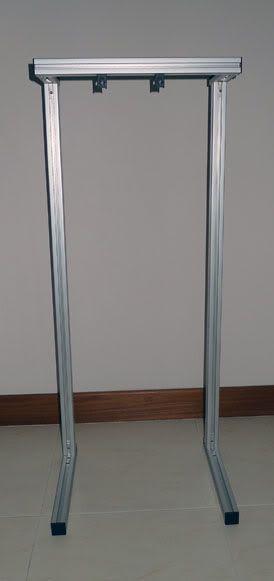
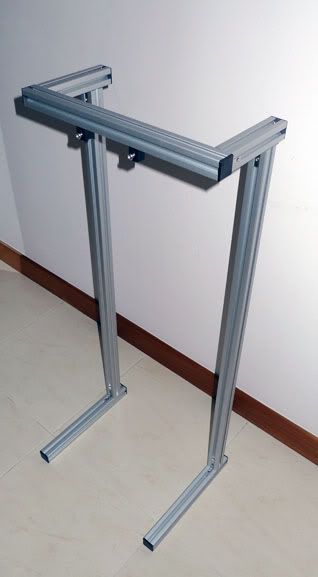 Notice that the top hanging horizontal beam is about midway between the base support. With the heavy MH pendant handing from there, the CG will be right smack in the middle of the structure.
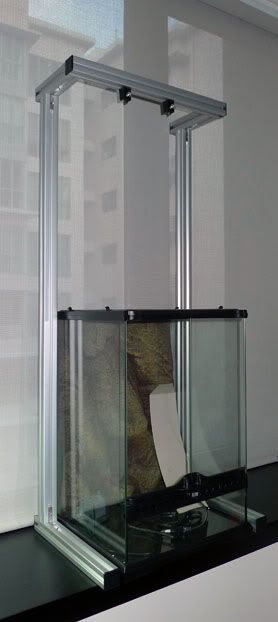 The MH Rack II over the Terrarium. I am pretty happy with the amount of viewing space it liberated along the side of the tank! :D
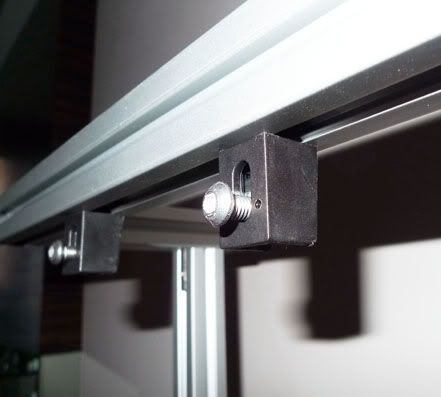 Someone over at the Aquatic Quotient Forum was asking about the part I intended for hanging the MH. Is actually meant to hang glass panes but I am thinking it may just hold the pendant too....not 100% confirmed on using them yet...subject to my trial on it's load bearing capacity.
 Got those black Co2 tubes to create drip lines to make sure most of the background will be moist all the time.
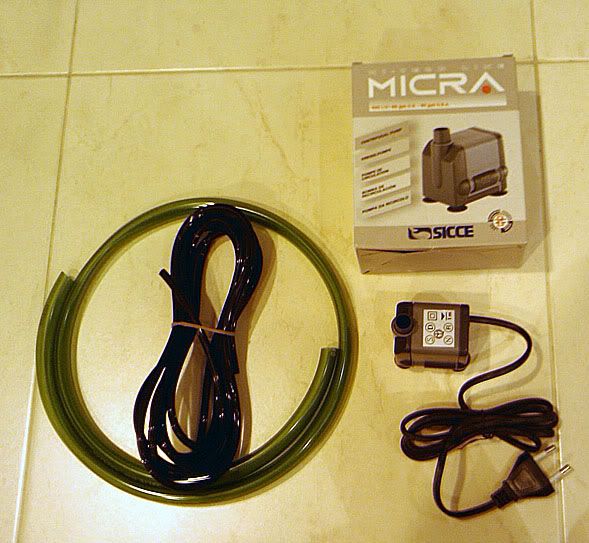
 I decided that I should get the submersible pump early to help me allocate space for it in the overall design. Having the pump inside the tank really gives me a spatial visualization of the equipment size and field of operation to design my backdrop and waterfall.
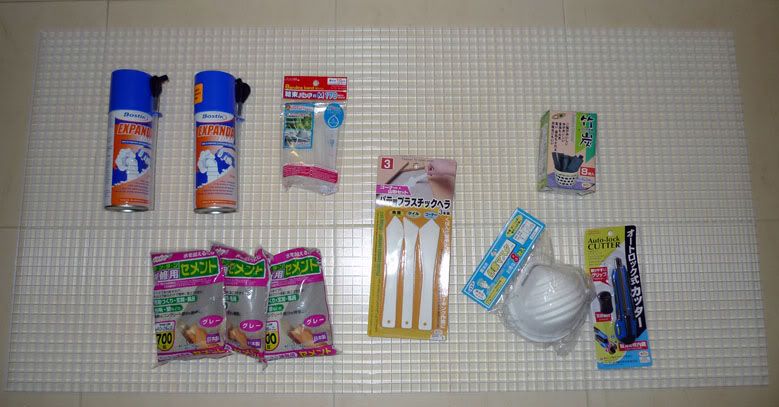 Expanda Foam
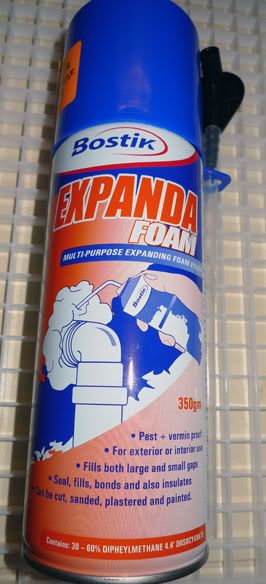 A close up of the Expanda foam...took me a while to find these at Homely Hardware at No.1 Ubi Crescent.
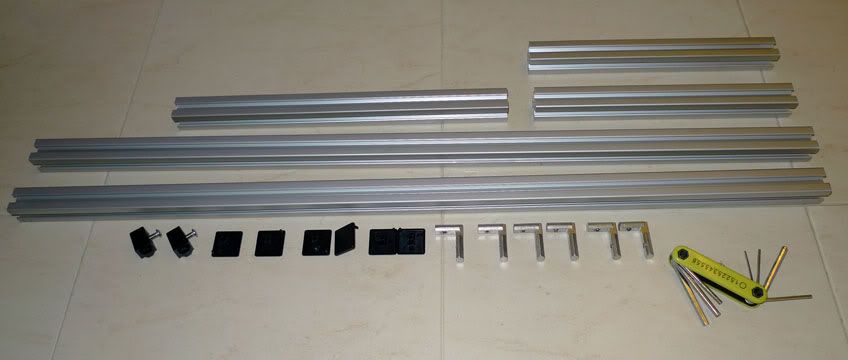
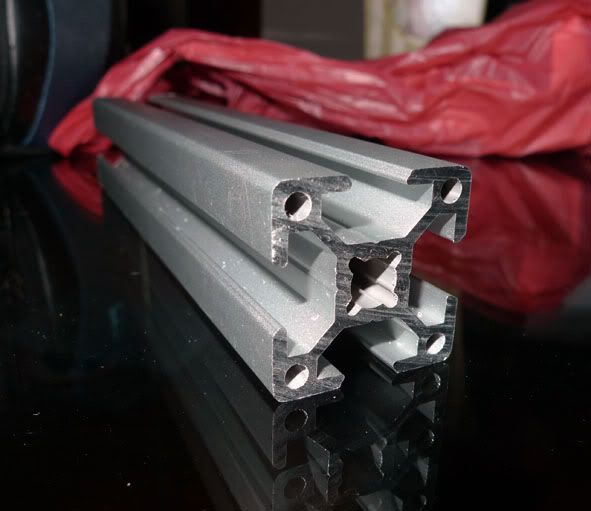 A close up shot of the cross-section to illustrate my point about the structural strength compared to the usual hollow aluminum trunking used in other DIY.
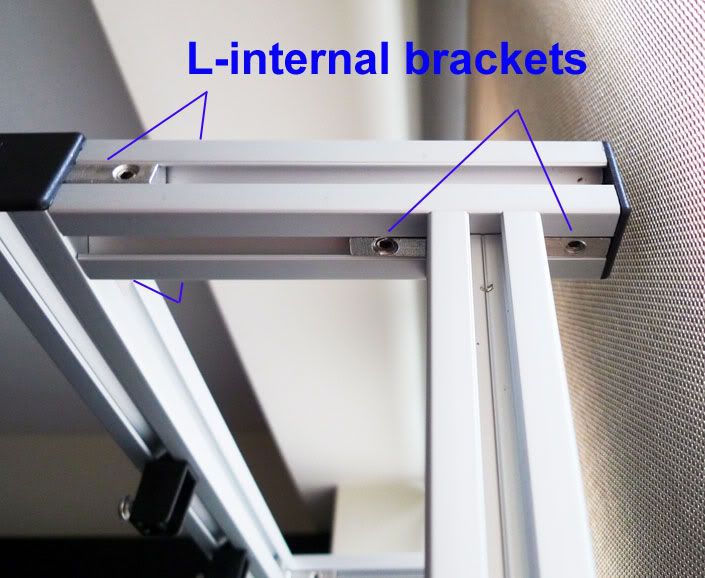
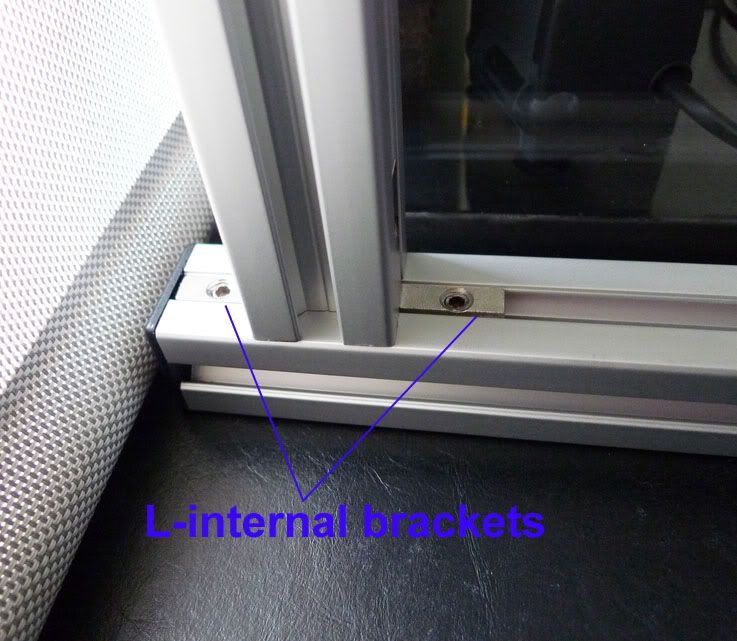
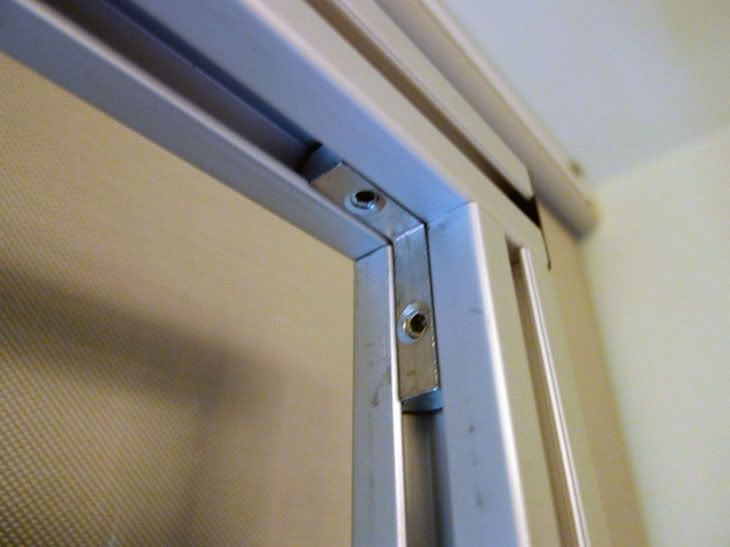 A close up shot of the internal brackets (L-joints)
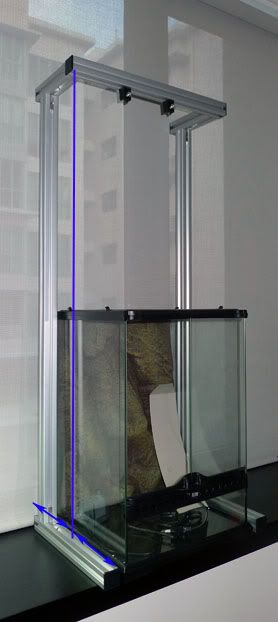
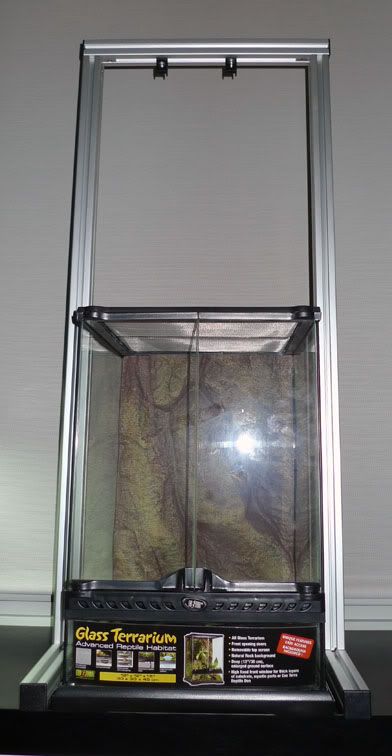 I gave the rack another 1.5 feet above my 1.5 feet tank to make sure I have enough head room to mount the MH light set higher. This will allow me to adjust the spread of the light via the hanging set as well as move the MH set higher to reduce the heat reaching the paludarium.
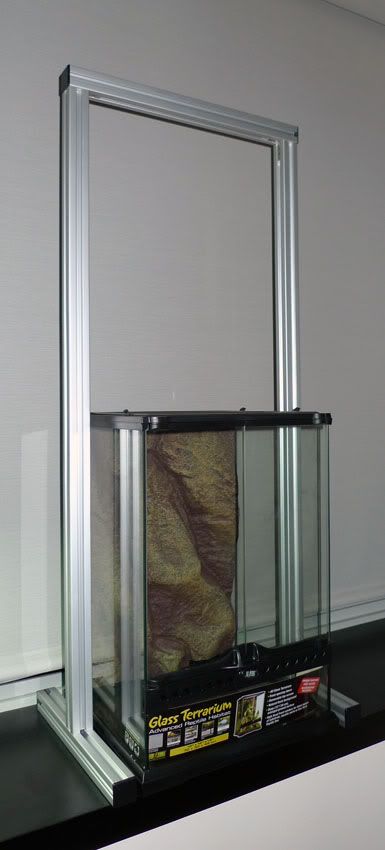 I like the neat, customizable and fuss free construction and with the end result that exceeds my expectation of a stable and sleek rack.
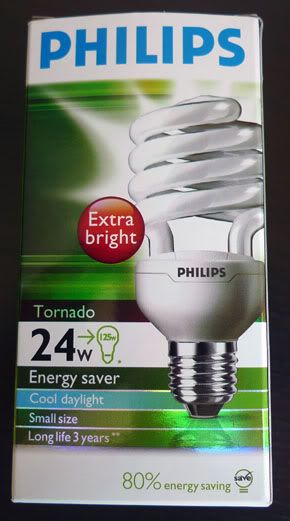
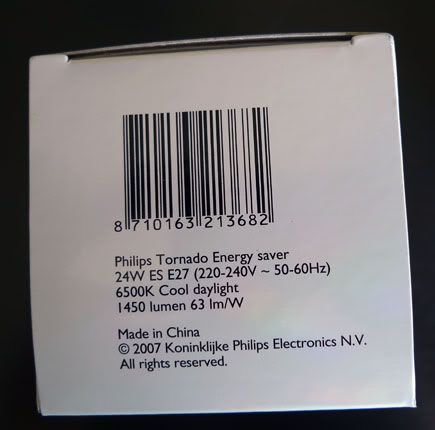 Phillips Tornado 24W E27 6500K Cool Daylight
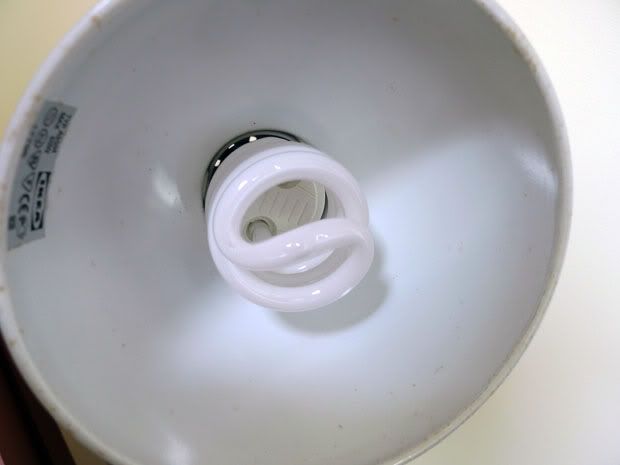 Bulb swapped in. Note the semi-gloss plainted inner surface of the lamp hood.
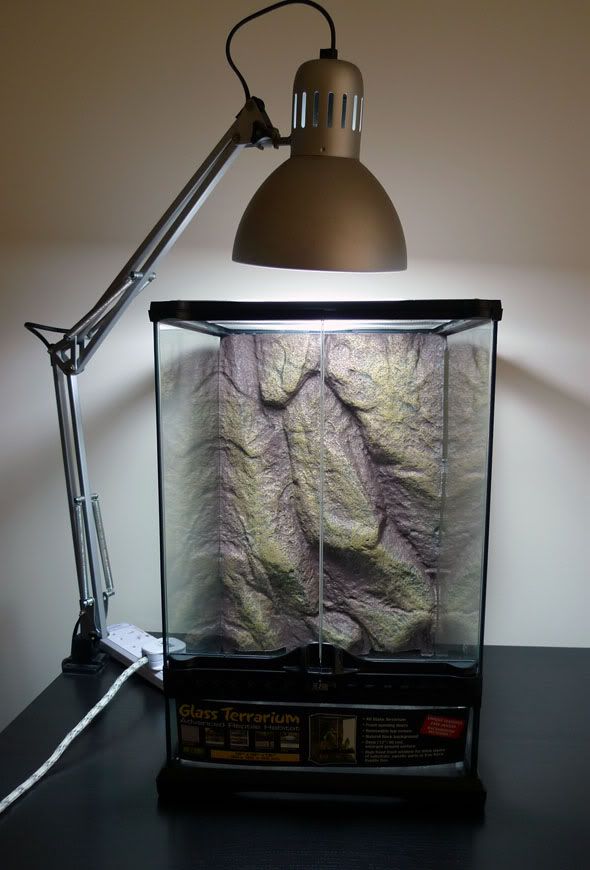
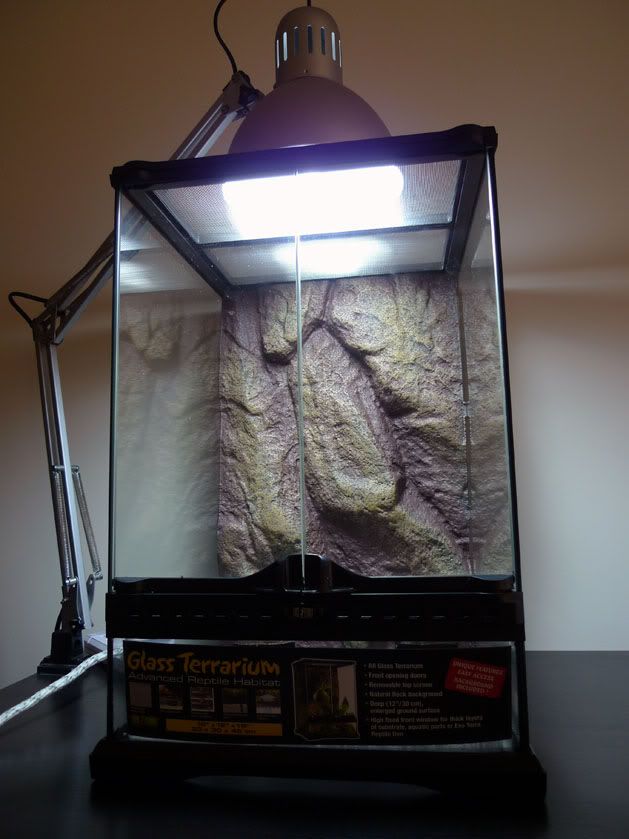 To me, the amount of light within the tank looks equivalent to a slightly overcast day and should be just sufficient for most shade loving plants. I think a large part is due to the stainless steel wire mesh filtering out at least 20-30% of the total light output from the lamp. The lack of a proper reflector within the lamp hood also did not help matters here.
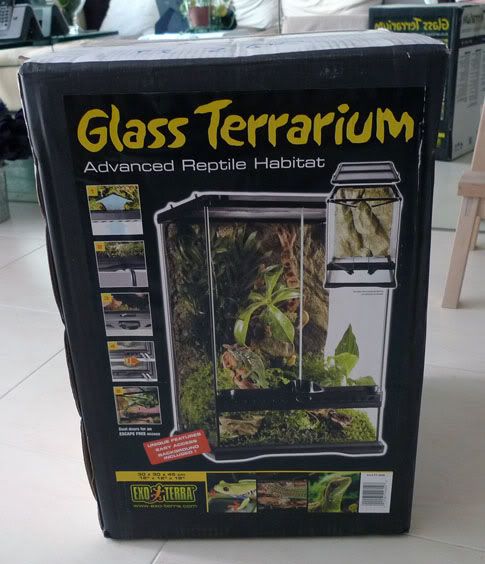 the front of the box
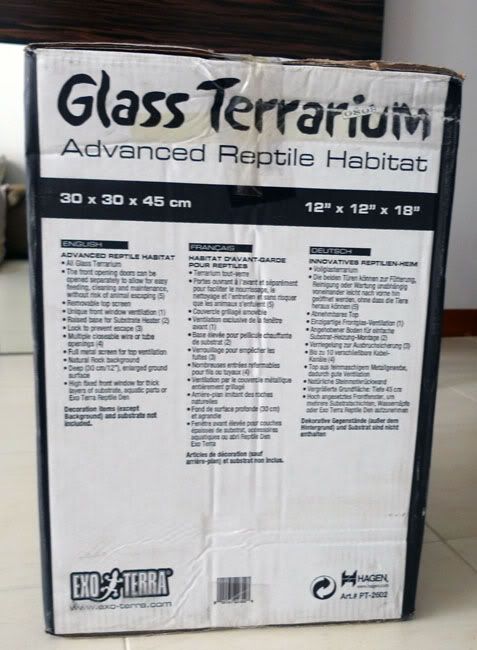 the rear view of the box
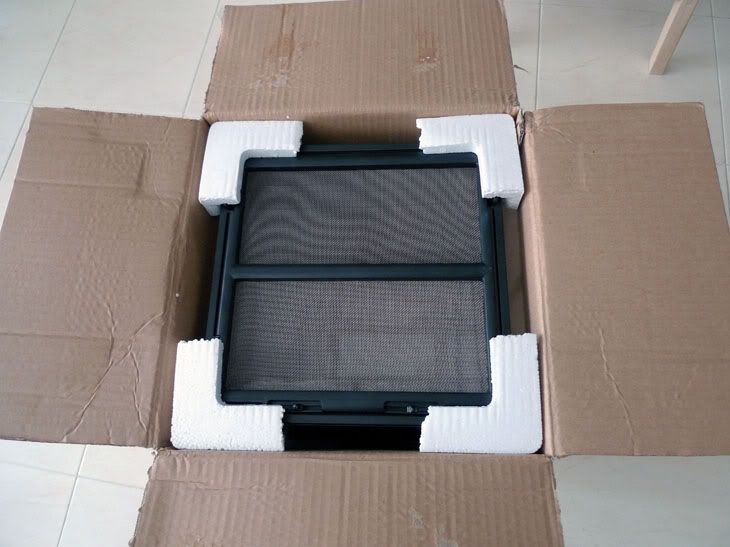
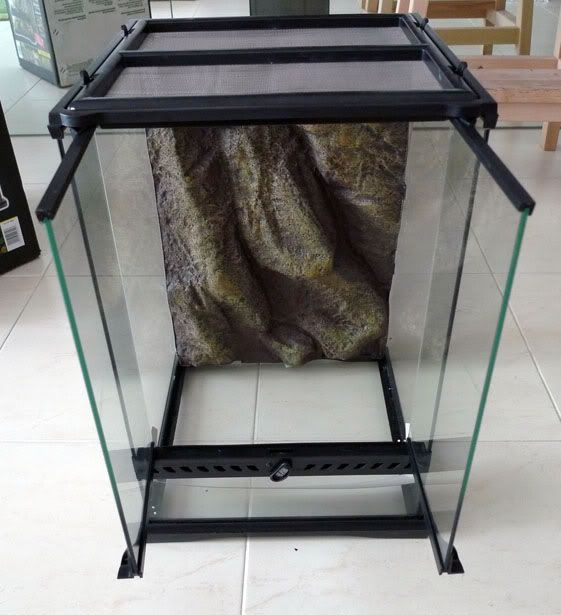 comes with a realistic Styrofoam rock background which I have yet to decide if I will be using.
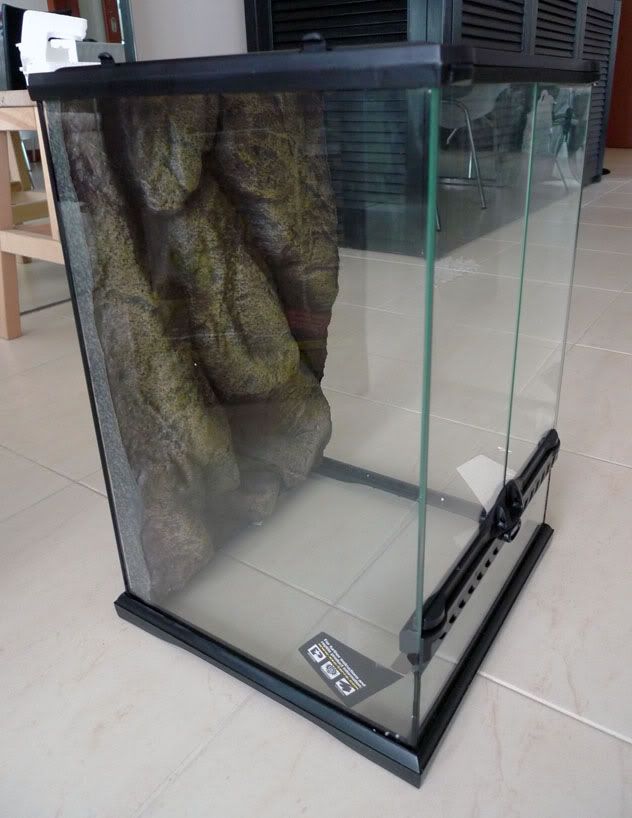 very stealth air vents incorporated into the plastic structure just beneath the glass doors...nice
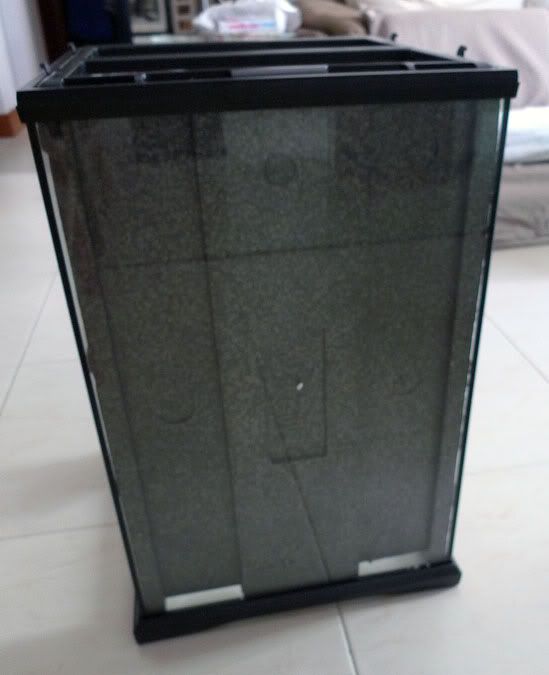 Back of the Styrofoam background which have gaps in the lower edge and 2 shallow tunnels at the rear to allow for wires and tubes to pass through... thoughtful!
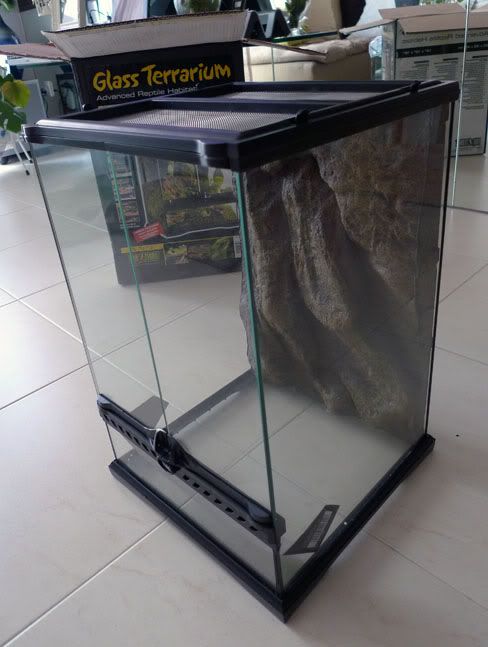 Stainless steel mesh top that allow ventilation and light to filter into the tank... I may be adding some acrylic panels to increase the humidity level of the tank later on..