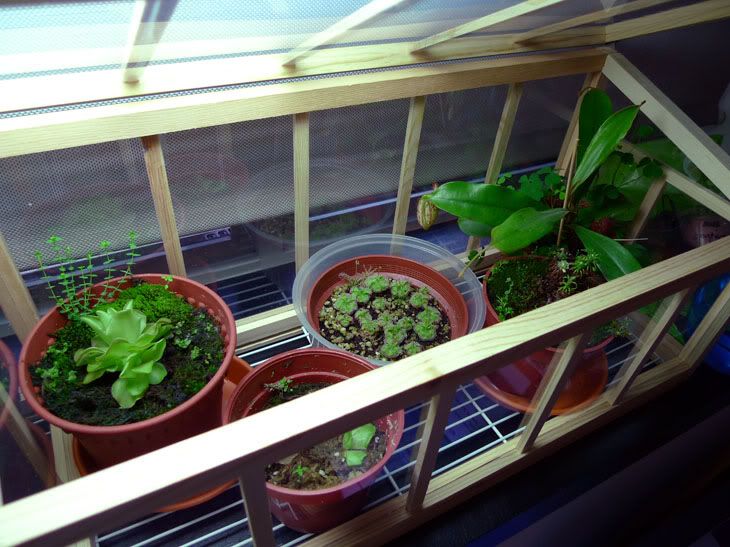
 My mini greenhouse occupants!
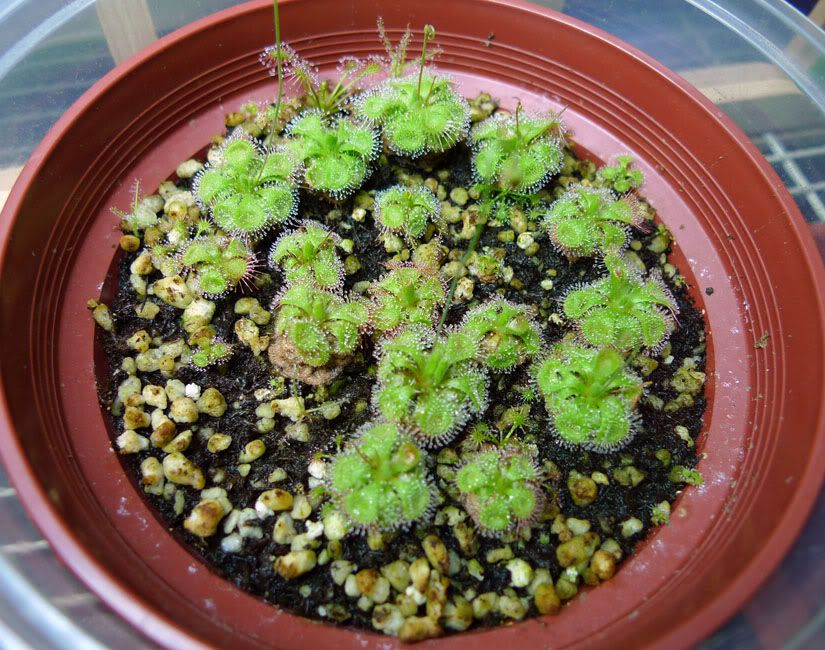 Newly bought pot of Droseras!
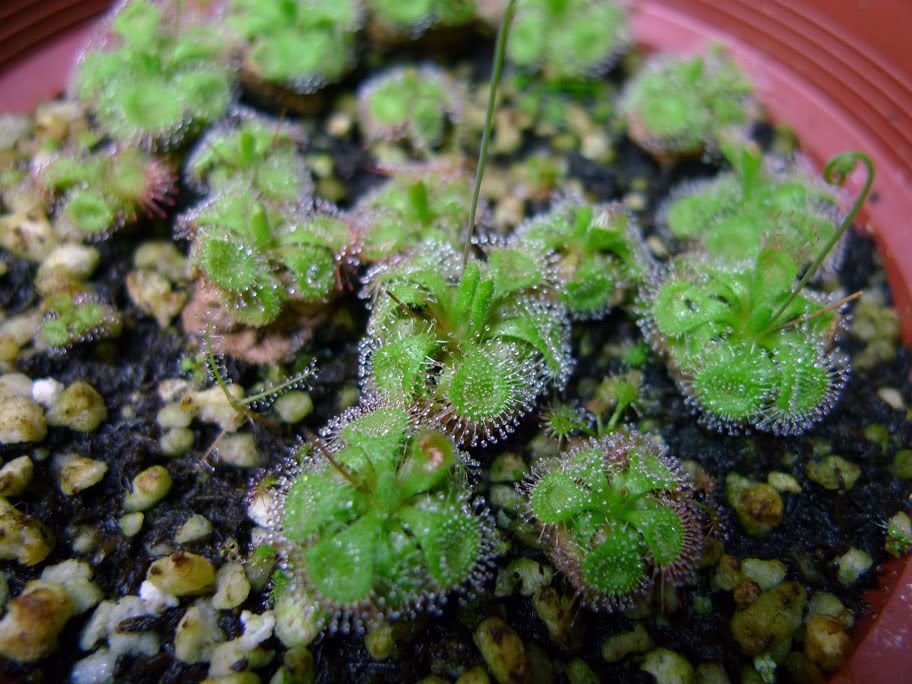 D. Burmannii
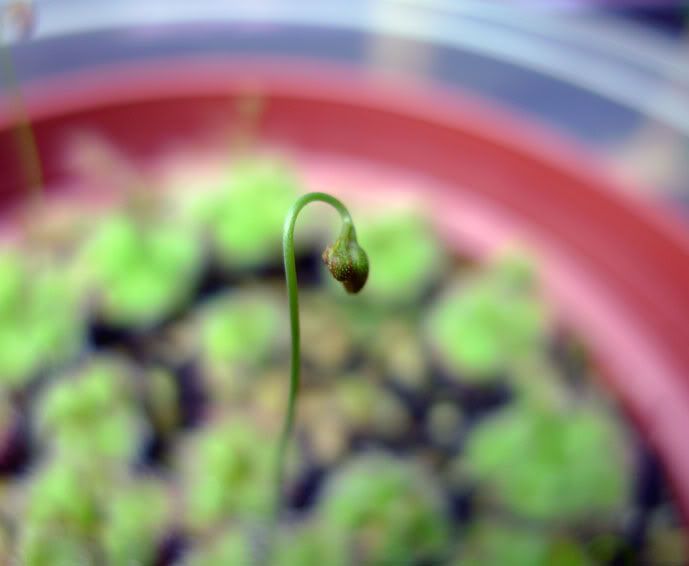 D. burmannii flower stalk
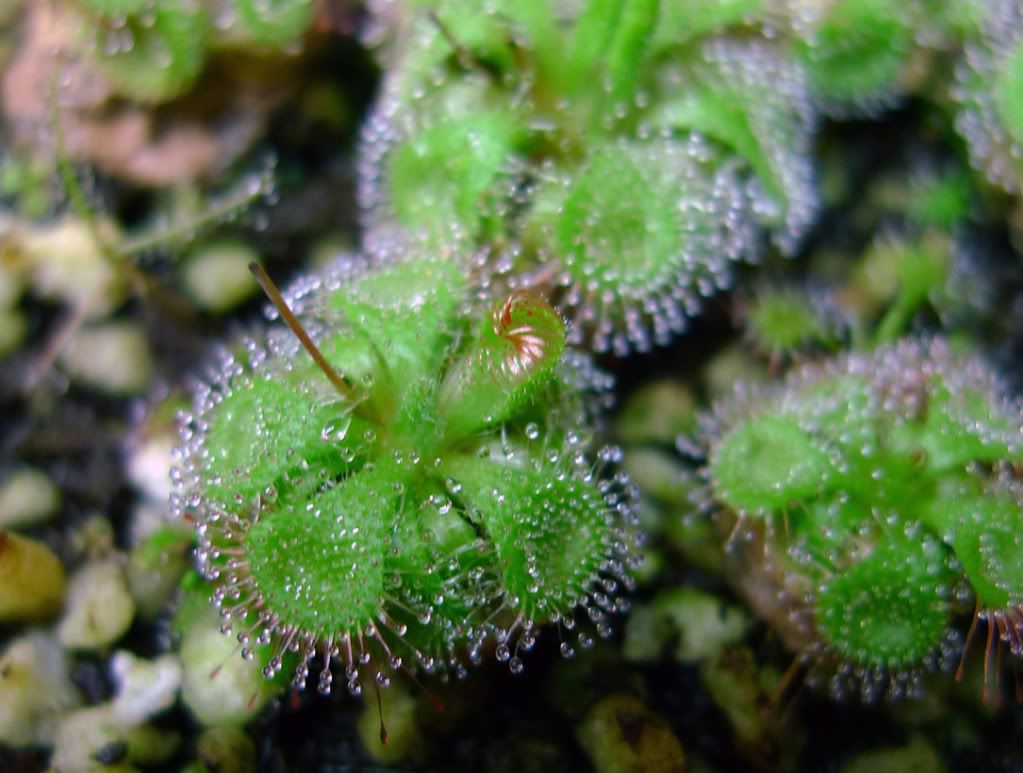 Very dewy D. burmannii
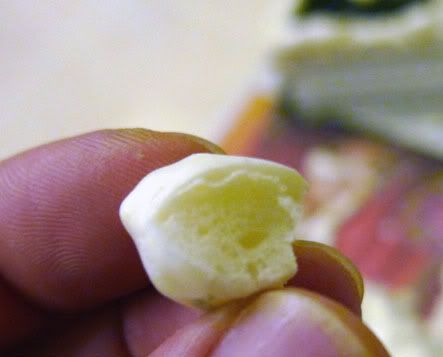
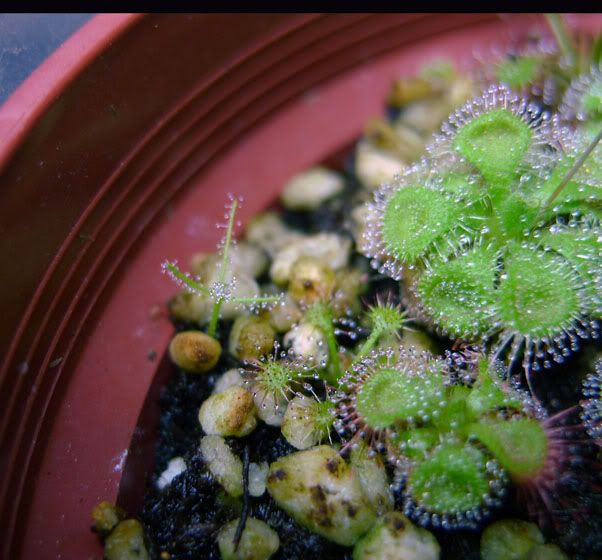 Drosera spp?
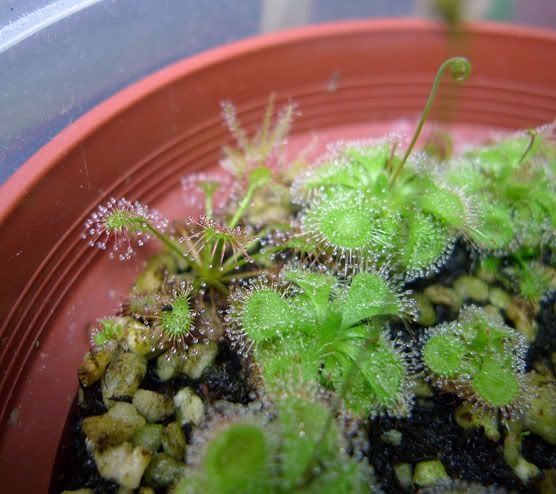 Drosera spp?My mini greenhouse occupants!Newly bought pot of Droseras!D. BurmanniiD. burmannii flower stalkVery dewy D. burmanniiDrosera spp?Drosera spp?
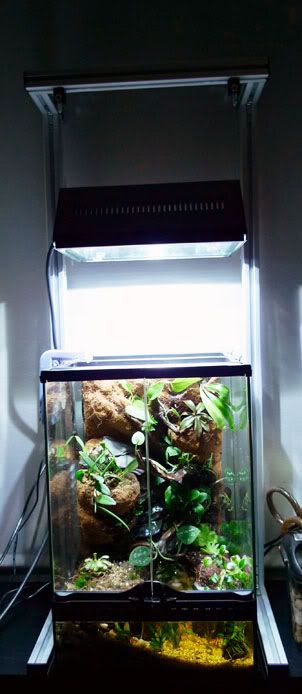 Front view
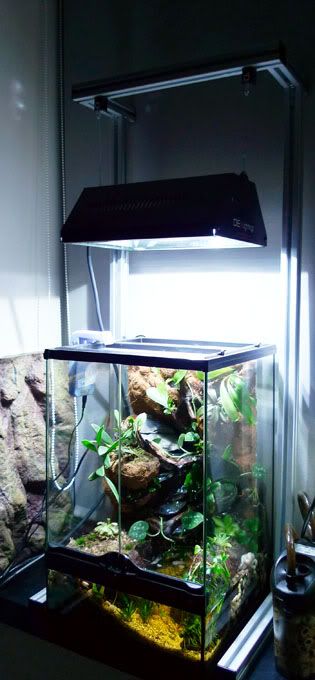 Front Quarter view
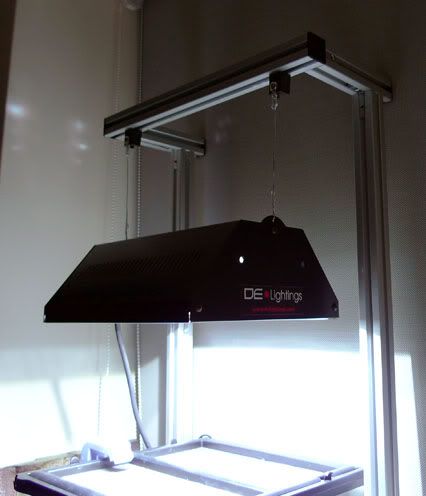 De-Lighting 70W MH pendant with WGNLITE 70W 8000K MH bulb
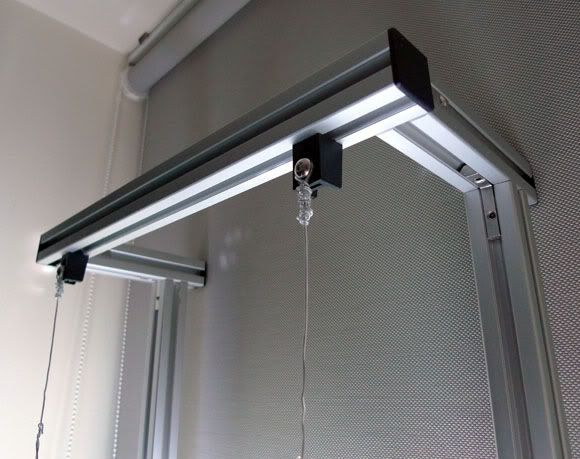 Temporary plastic coated wire to hand the pendant before I finalize the height of the lights
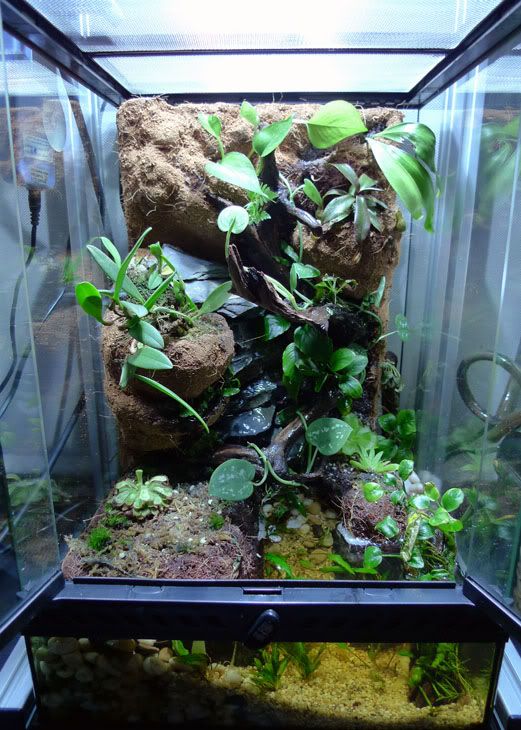 Shifted some the orchid on the branch as I find that location too wet for the plant.
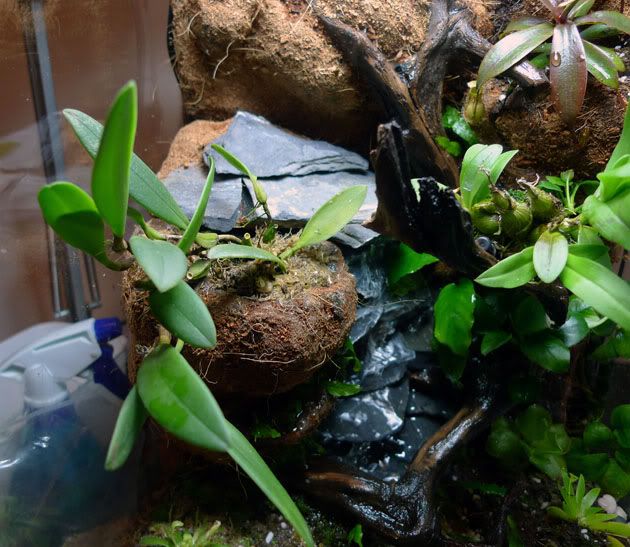 The orchid on the left (next to waterfall) --> Bulbophyllum contortisepalum
 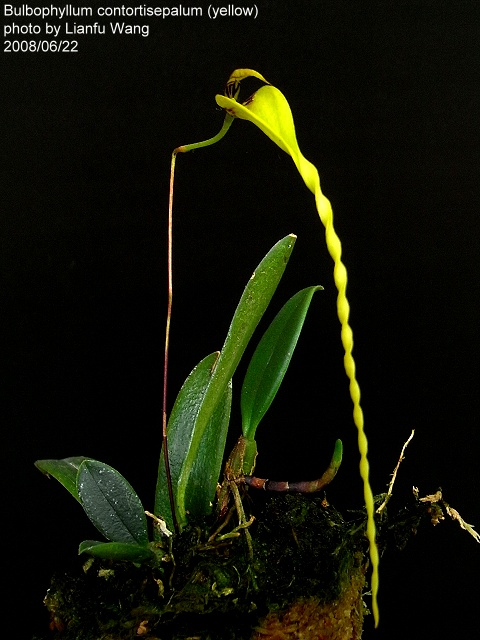 ~~~~~~~~~~~~~~~~~~~~~~~~~~~~~~~~~~~~~~~~~~~~~~~~~~~~~~~~~~~~~~~
 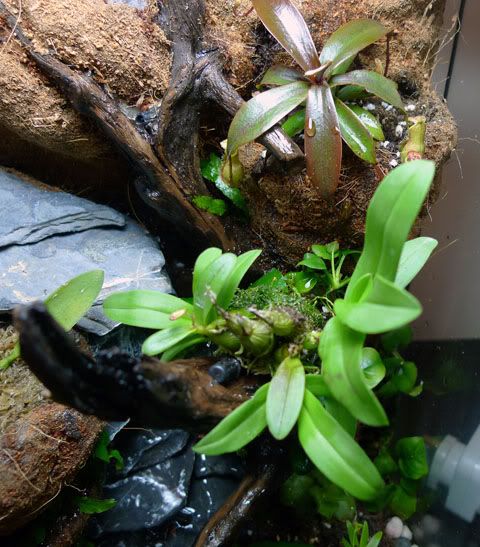 The orchid on the branch --> Dendrobium peguanum
  ~~~~~~~~~~~~~~~~~~~~~~~~~~~~~~~~~~~~~~~~~~~~~~~~~~~~~~~~~~~~~~~
  The fan shaped plant on the right --> Psymorchis pussilla
  ~~~~~~~~~~~~~~~~~~~~~~~~~~~~~~~~~~~~~~~~~~~~~~~~~~~~~~~~~~~~~~~~~~
 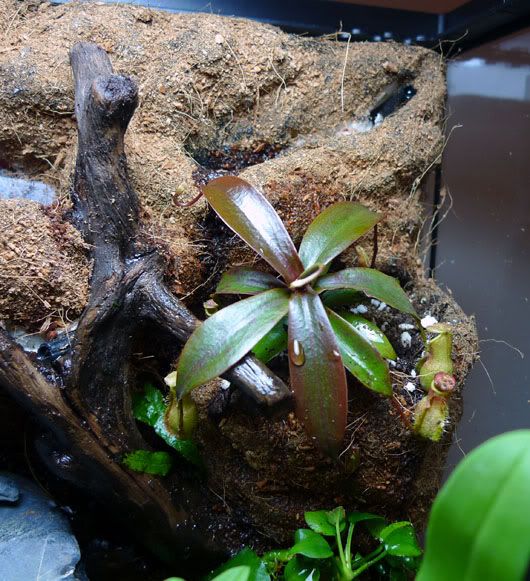 Nepenthes bellii
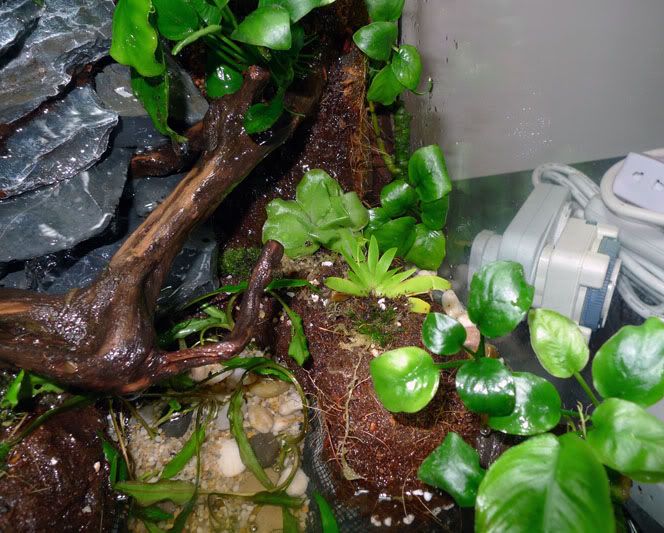
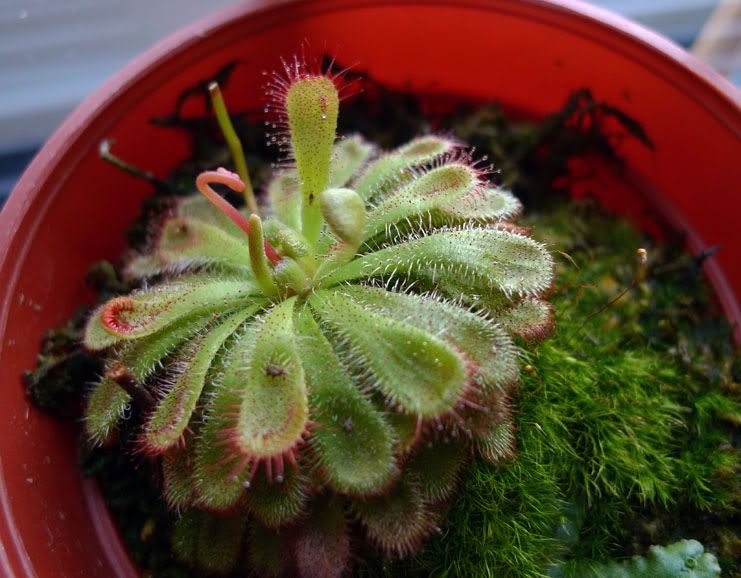 Drosera aliciae
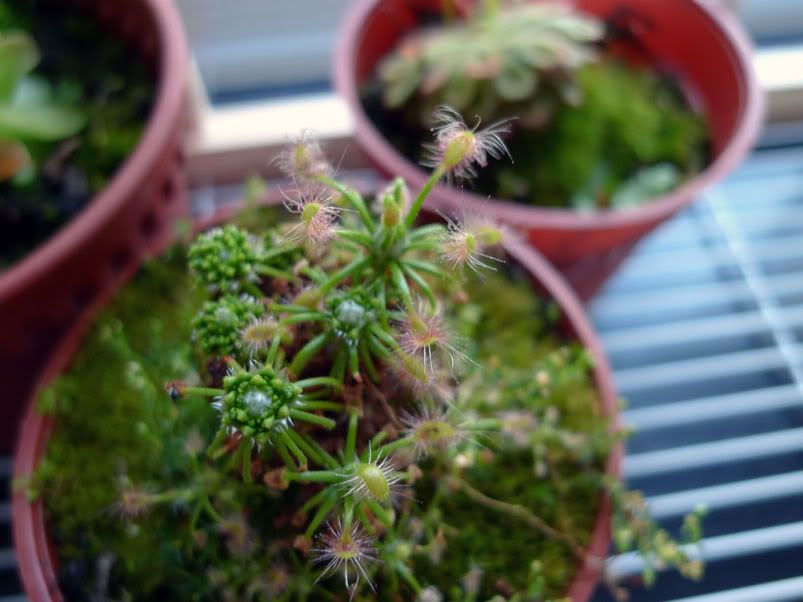 Drosera scorpioides
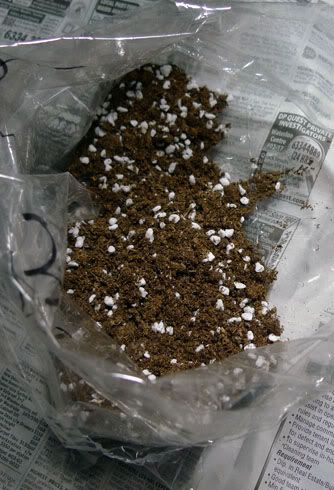 Peatmoss and perlite mix.
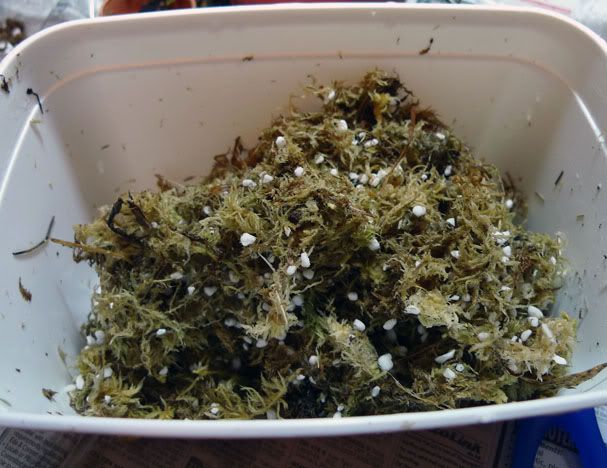 Sphagnum moss and perlite mix.
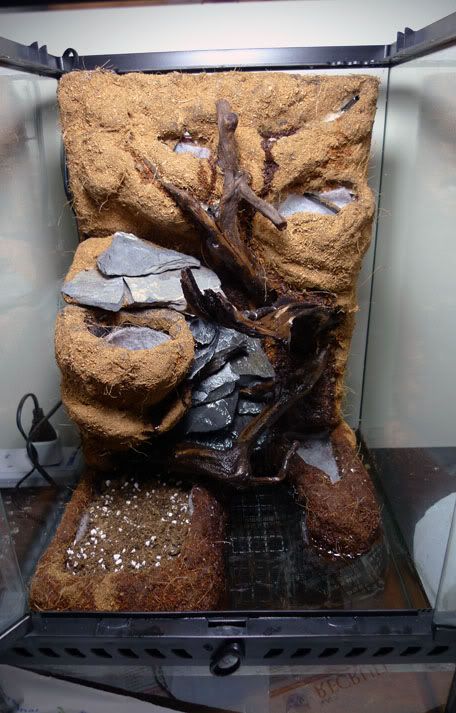
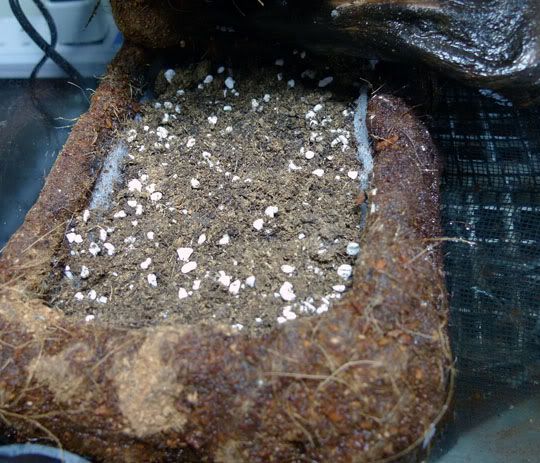 The first layer of peatmoss and perlite mix at the bottom.
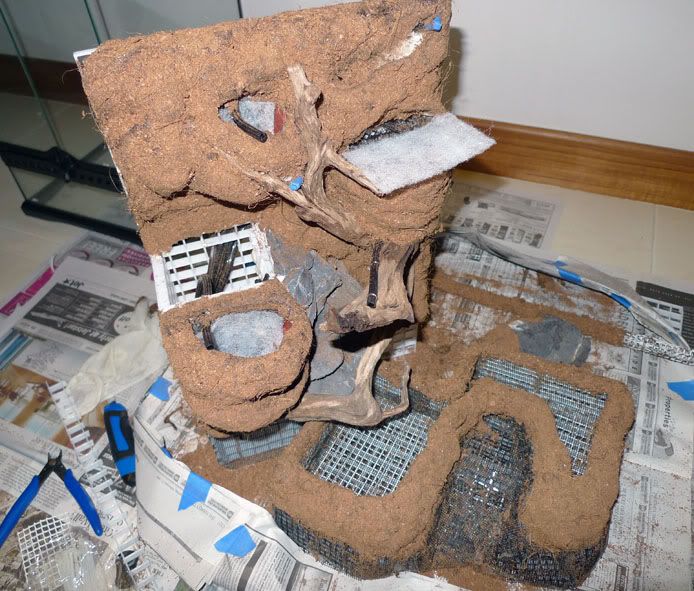
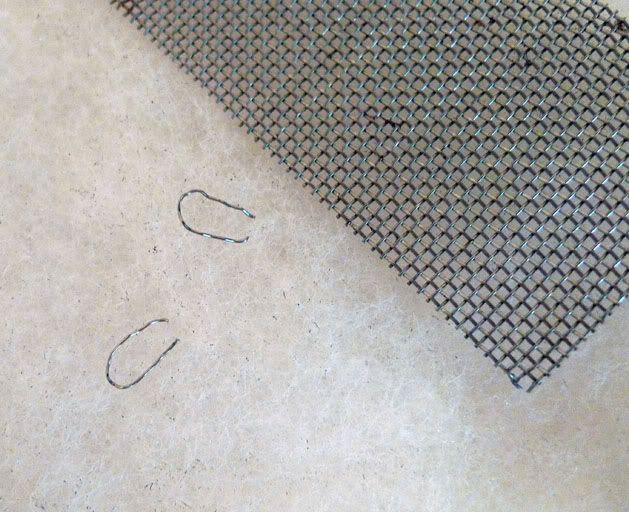 DIY my own anchoring hooks for the plants onto the expanded foam area. I avoided the normal wires as they will rust. So I took an old used stainless steel mesh formerly used to tie moss, took a clamping plier and pulled strands from the edges, cut and bent to shape. Due to the still wavy shape of the wire, it is just perfect to enhance the grip in the foam compared to a straight wire.
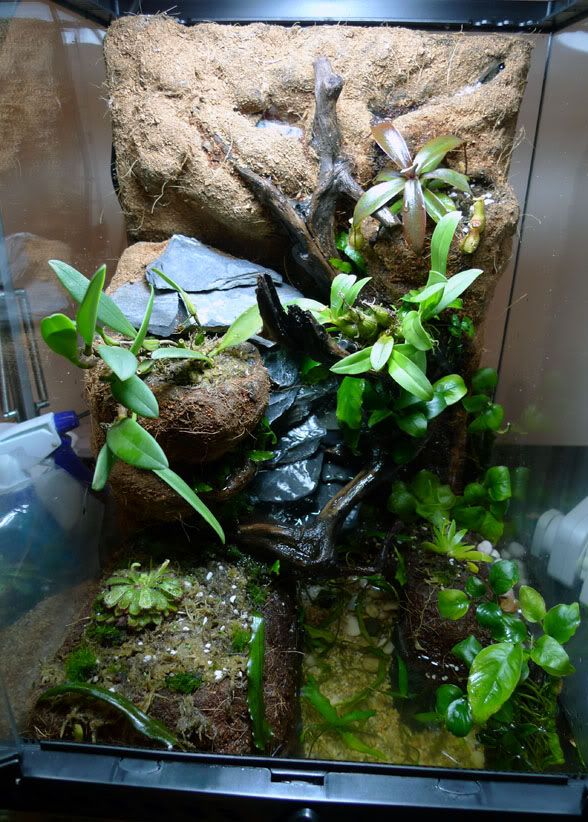 Finally planted...80% intended flora and fauna in....left the top ledge plants and some guppies, otos and shrimps.
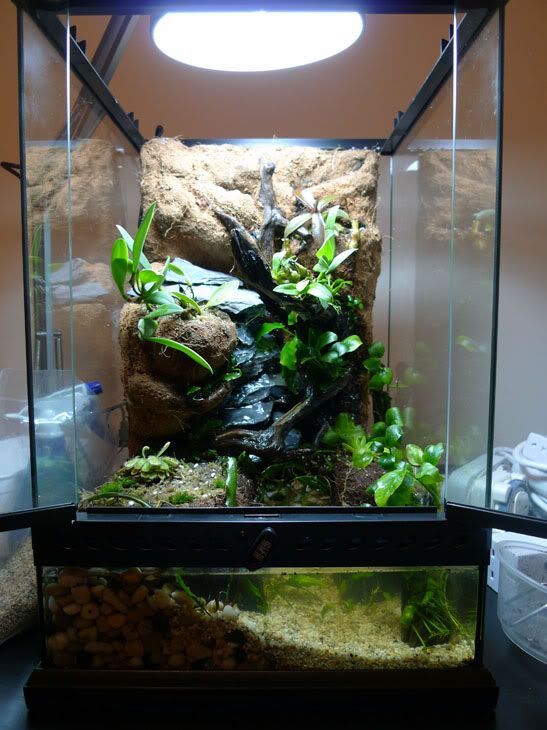 Full tank shot.
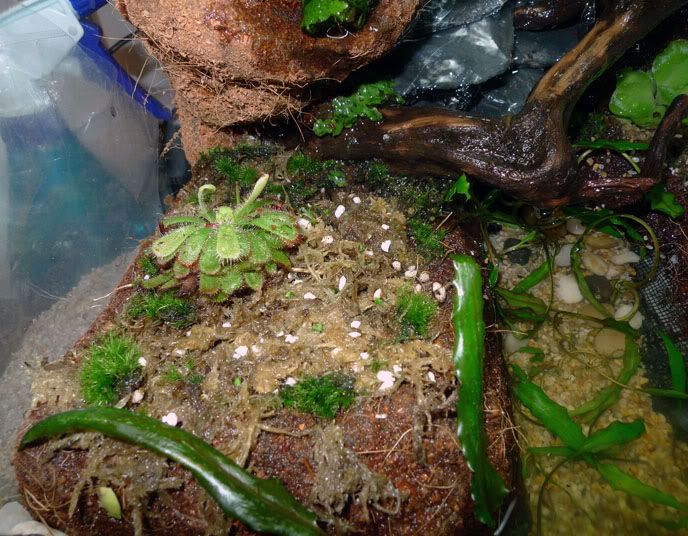 Left front waterlogged area with sundews planted. Added some nice looking moss and hopefully they will lawn over.Right front waterlogged area with ping and mini orchid planted. Crypts in the water and water line. Nanas dotted the scape occupying areas wet with dripping water.Orchid spp over the left ledge just next to the waterfall.Another orchid spp. tied to the wooden branch and nep bellii in the right upper ledge.
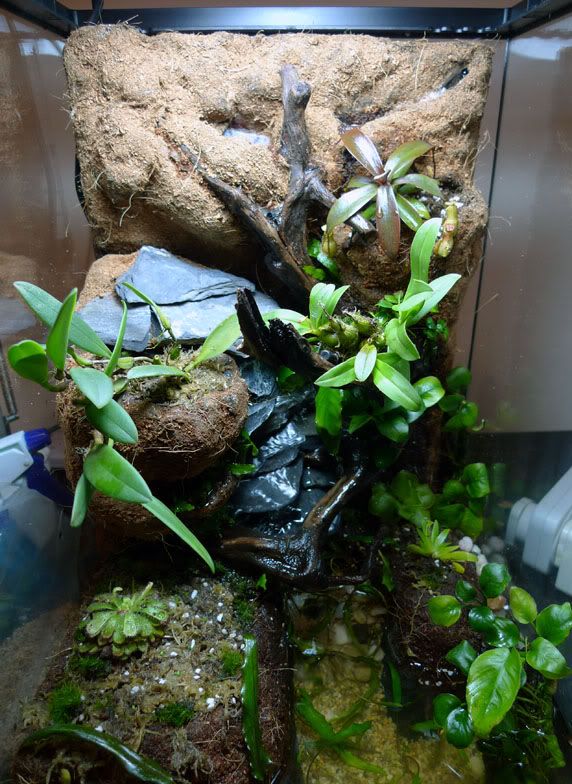 Hoping to fill the left upper ledge with a bromelaide spp. as well as collect some ferns to stuff the moist nooks and crevices.
 After the black silicon is cured, remove the 3M painter's tape. I had to touch up some areas I missed the first time round as well as the bits that the edge of the blue tape tore out when it was removed.
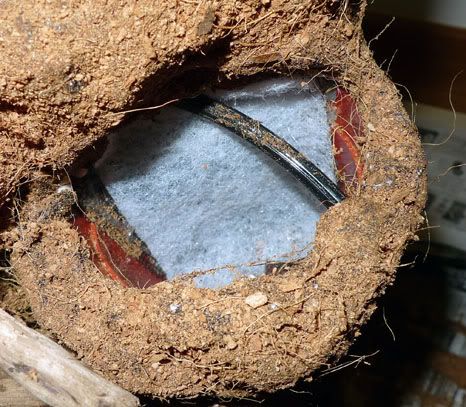
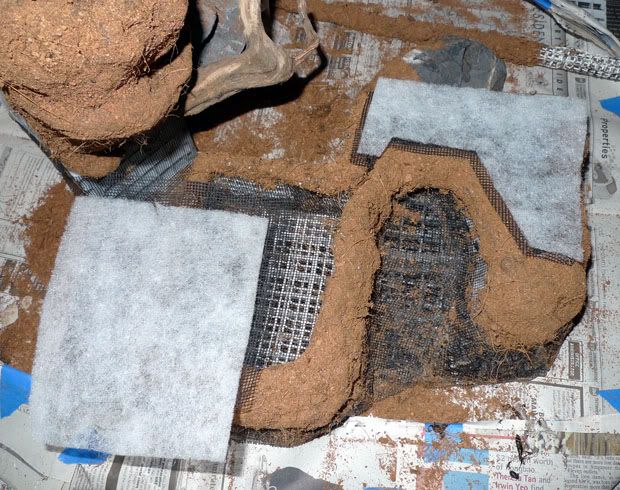 Fine mesh with thin layer of filter wool cut to shape to be laid underneath the peatmoss/sphagnum layer. This will prevent the finer bits to fall through and clog up the water pump prematurely.
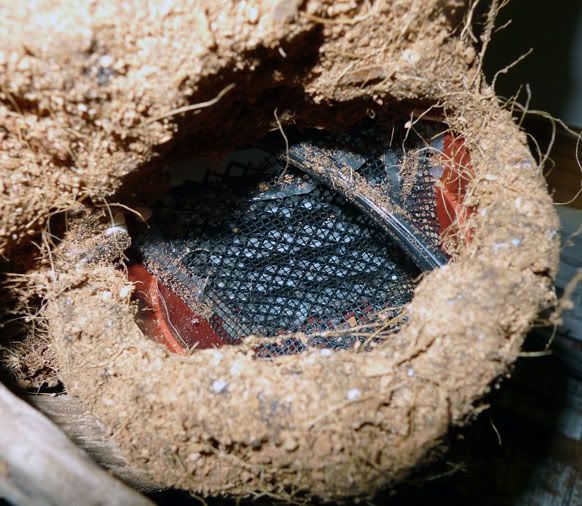
 The rear of each suspended pots are lined similarly towards the back where the water is expected to drain.


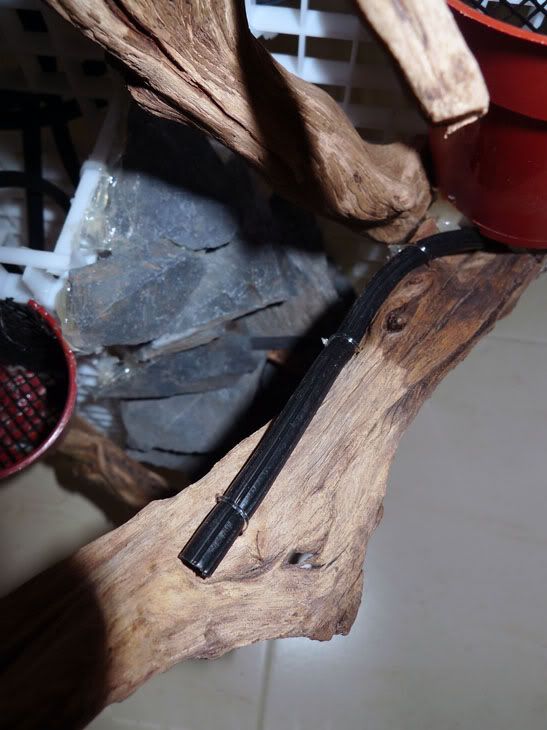 Water drip hose tied to one of the branches. Intending to put some anubias and cover with moss.
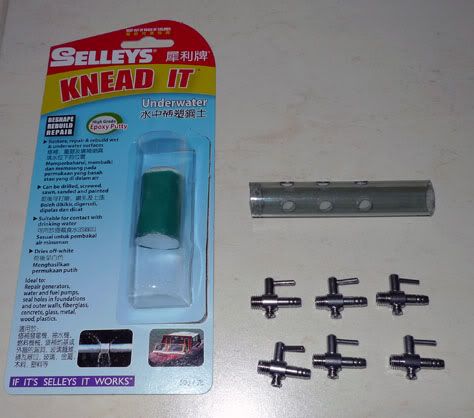
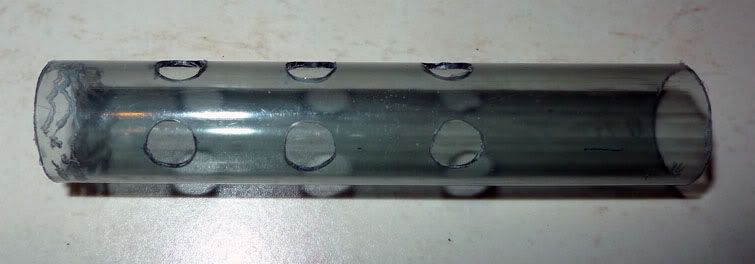
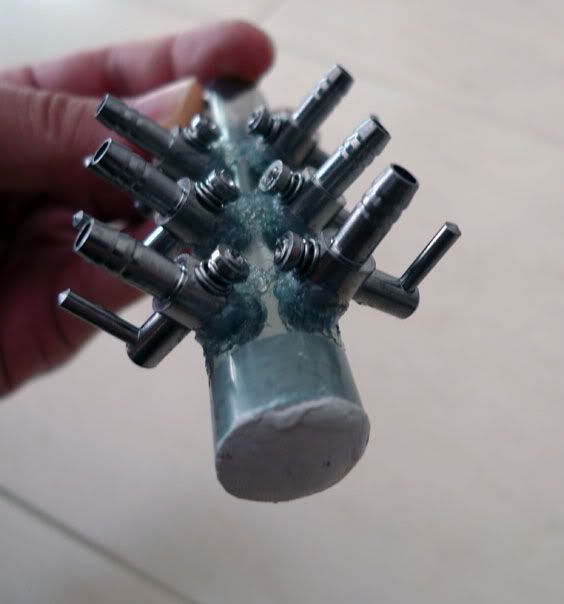
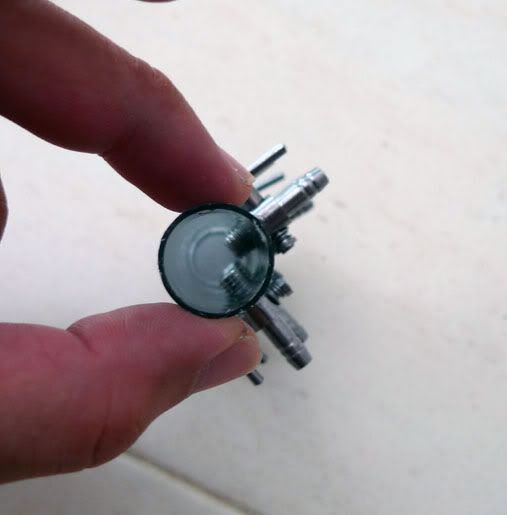
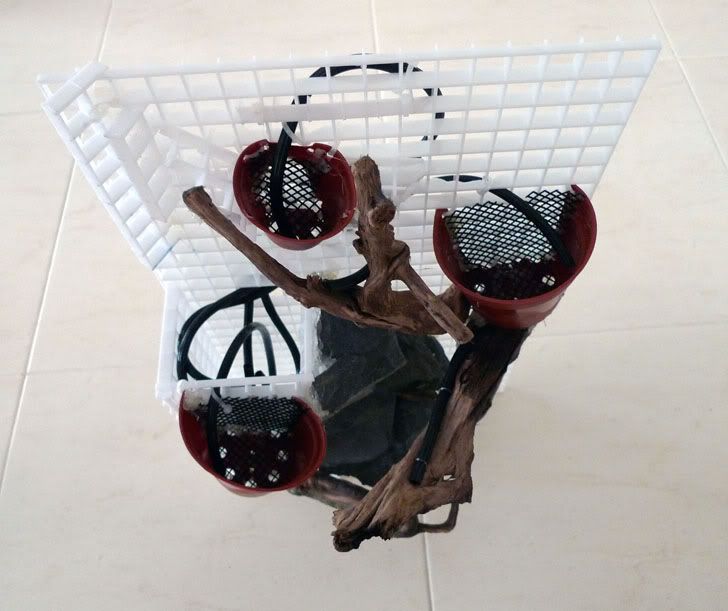 Top view with better appreciation of the water pump chute and the water distribution system.
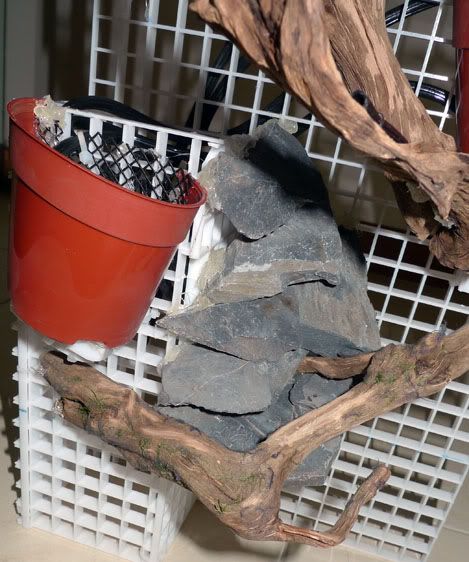 Waterfall constructed from granite slates and epoxy putty.
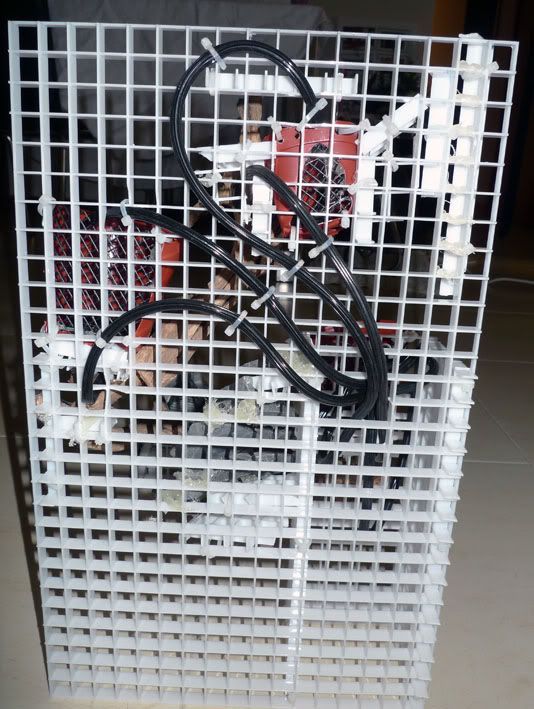 Rear view of the background.
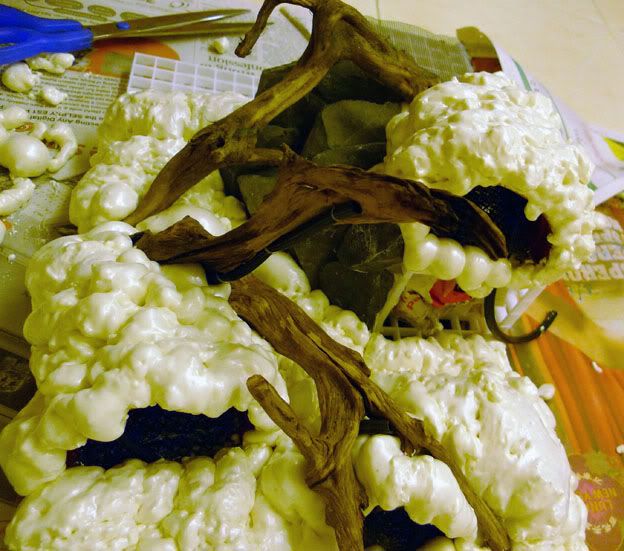 Sprayed with expanding foam. Very messy to work with. It really expands to 3 times the original amount. Good idea to use disposable gloves!
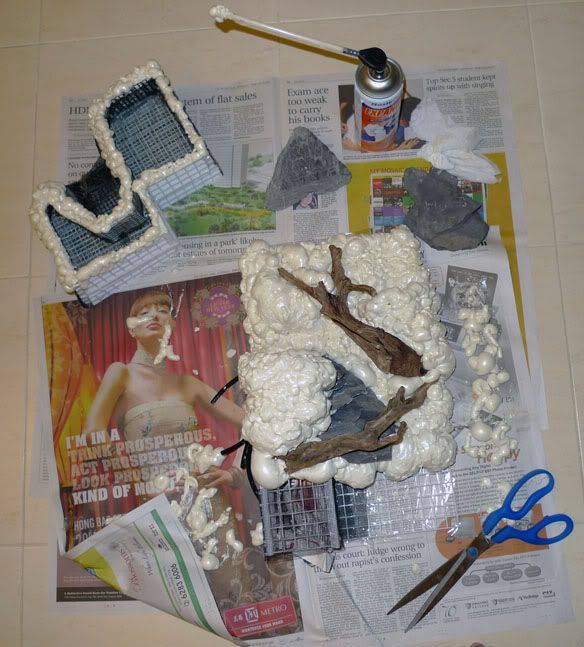
 The cut surface of the foam after curing.
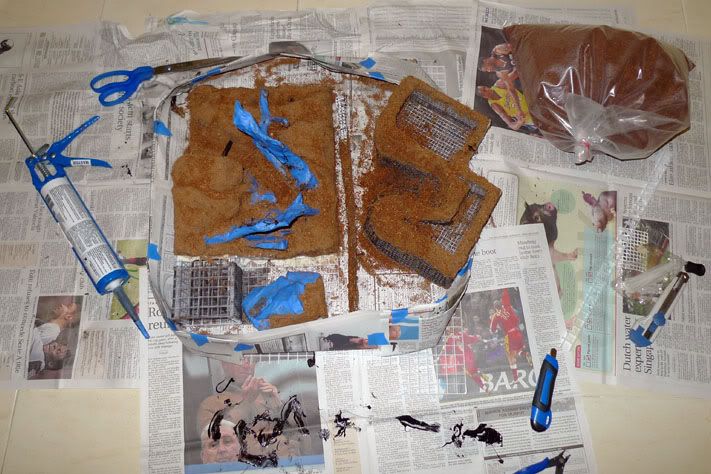 The stone and wooden features are wrapped using 3M painter's tape to prevent the silicon sealant from getting onto them. The black silicon silicon is bought from a tank maker who used it for aquariums, so should be safe for the terrarium. Apply the black silicon in small parts as it will start to film over in minutes. tip: wear a pair of disposable gloves, use your right hand to hold the silicon gun and apply to the surface. Use your left hand to smear and spread the silicon evenly onto the surfaces. Once surface ready, put down your silicon gun and use your right hand to grab a handful of cocofibre and press it down onto the surface. Becareful to avoid touching the silicon with your right hand as you will want it relatively clean for the whole process.