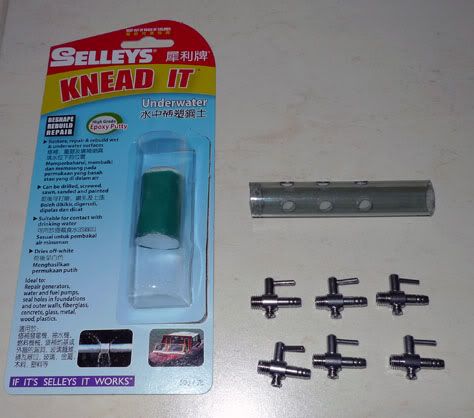
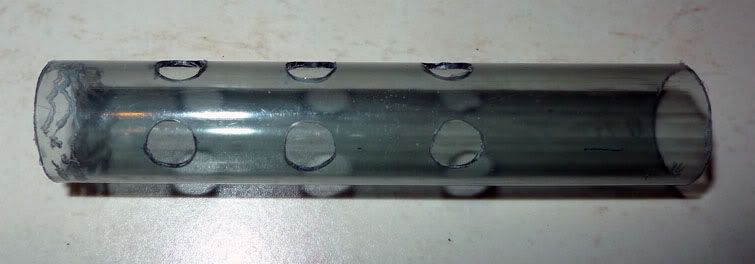
For the plastic tubing, first make some holes (I use Dremel hand tool) for the metal air hose valves along the configuration that you need. Due to space constraint in my application, I opted for 90 degrees angle arrangement. Make your holes just a wee bit smaller than the valve's screw head to allow you to screw the valves in for a snug fit. Notice that I made some scoring lines on the inner surface of one end of the tube? This is to provide a rough surface for the epoxy putty to grip on later on.
First you need to seal the end of the plastic tubing which you made the scoring lines with a lump of epoxy putty. The reason why you do this first is so that you can push an appropriately sized flat end object (I used a large permanent marker pen) into the tube from the other end to provide counter pressure on the epoxy putty as you push it in from your end. This will create pressure from both ends and resultig in the epoxy putty being pressed firmly into the side of the plastic tubing for a good grip.Without this step, I suspect that the epoxy may not seal the end securely enough.
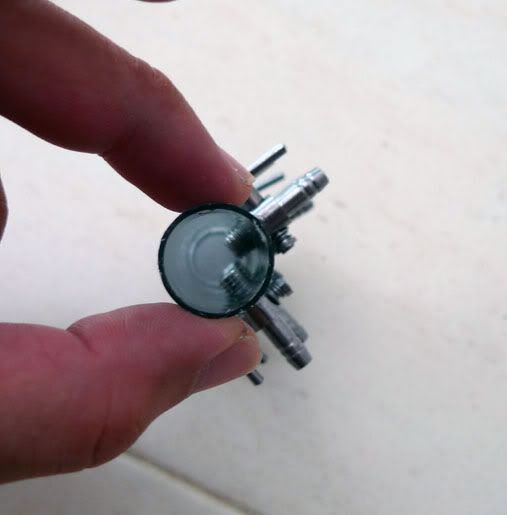
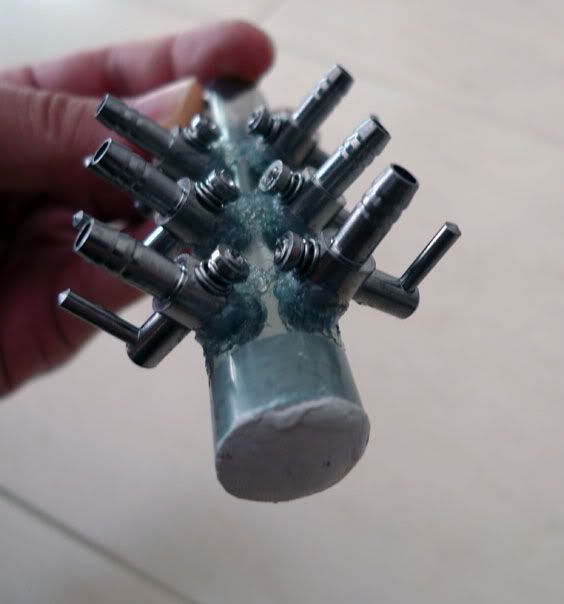
When you are ready to screw in the valves, only screw in halfway and apply a rim of silicon sealant around the screw threads. After which screw in all the way and apply another layer oof silion sealant around the joint. This will ensure that silicon sealant is within the smallest of the gaps without blocking the water flow passage. Notice the end view of the finished product, the protruding screw threads from the valves will block any attempt to put in any object to provide the counter pressure when applying the epoxy putty.
No comments:
Post a Comment